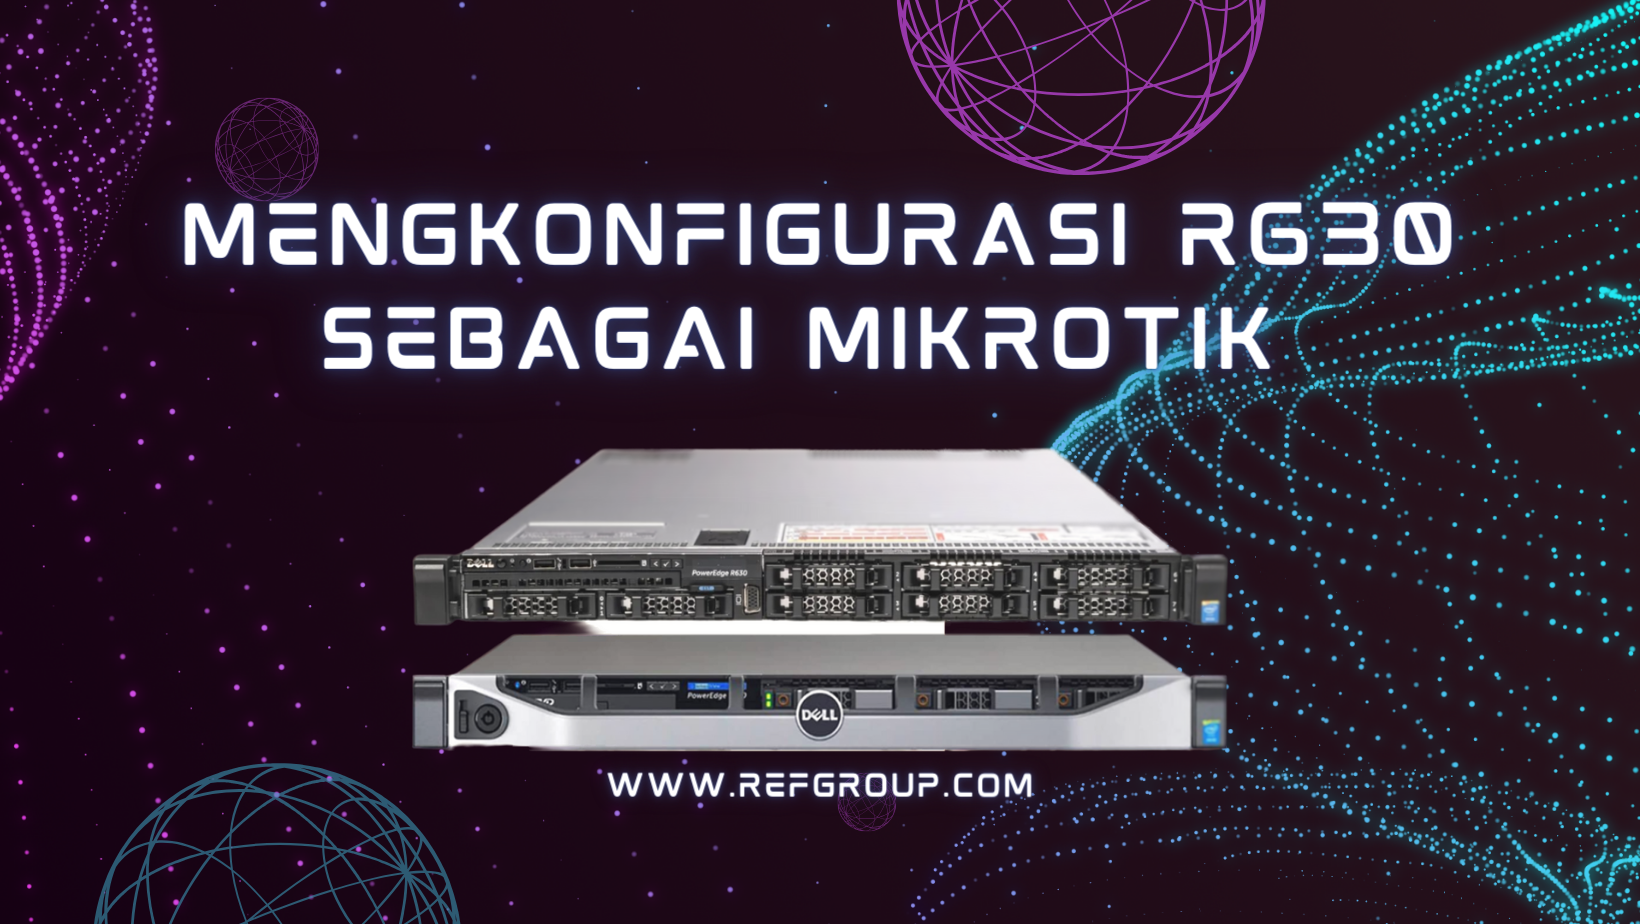
A Comprehensive Guide to Setting up MikroTik on the Dell R630 Server

In the ever-evolving world of networking, configuring MikroTik on the Dell R630 server offers a potent combination of performance, reliability, and affordability. This comprehensive guide aims to provide a step-by-step walkthrough on setting up MikroTik on the Dell R630, catering to those interested in buying servers, especially from Ref Group Indonesia. Whether you are looking to buy a Dell server, exploring server components, or considering affordable options, this guide will equip you with the knowledge needed for a seamless configuration process.
- Setting Up the Dell R630 Server: A Step-by-Step Guide
With the server in hand, the next step is the physical setup and installation of the operating system. This section provides a detailed, step-by-step guide on setting up the Dell R630 server, ensuring compatibility and optimal performance. From rack mounting to cable management, every aspect of the initial setup is covered.
- I Installing and Configuring MikroTik: Tailoring Your Network
Now that the Dell R630 is set up, it’s time to install and configure MikroTik. This section offers a comprehensive guide on the installation process, covering essential configurations to ensure a smooth integration. Attention will be given to IP settings, network interfaces, and basic security measures to establish a solid foundation for the network.
III. Advanced Network Configurations: Maximizing MikroTik on Dell R630
Building upon the basic configurations, this section explores advanced network configurations using MikroTik on the Dell R630. Topics include routing strategies, firewall configurations, and Quality of Service (QoS) settings. The goal is to empower users to optimize their network infrastructure, ensuring it aligns with their specific requirements.
- IV. Remote Management and Monitoring: Ensuring Seamless Operations
Efficient server management is crucial for maintaining a robust network. This section delves into tools and techniques for remote management and monitoring of the Dell R630 server running MikroTik. From remote desktop solutions to network monitoring software, the goal is to provide users with the means to oversee and manage their network infrastructure effectively.
- V. Ensuring Security: Safeguarding Your Network
Security is a top priority in any network configuration. This section addresses security considerations when configuring MikroTik on the Dell R630 server. Topics include firewall configurations, VPN setup, and best practices for securing the network against potential threats. By implementing these measures, users can create a resilient and secure network environment.
- V Troubleshooting and Support: Navigating Challenges
No configuration process is without its challenges. This section addresses common issues that may arise during the setup and configuration of MikroTik on the Dell R630 server. Troubleshooting tips and guidance on seeking support from the community or vendors are provided to ensure timely resolution of any concerns.
Configuring MikroTik on the Dell R630 server involves several steps, from the initial setup of the server hardware to the installation and configuration of the MikroTik RouterOS operating system. Here’s a step-by-step guide to help you through the process:
- Dell R630 Server Setup:
- Ensure the Dell R630 server is properly installed and powered on.
- Connect to the server using a console cable or remote management interface (iDRAC, iLO, etc.).
- MikroTik RouterOS Installation Media:
- Download the MikroTik RouterOS installation image from the MikroTik website.
Step 1: Physical Setup of Dell R630 Server
- Mount the Dell R630 server in a rack if not done already.
- Connect power and network cables to the server.
- Power on the server and access its console interface.
Step 2: Accessing Dell R630 Server BIOS/UEFI
- During the server boot process, press the necessary key (usually F2) to enter the BIOS/UEFI.
- Configure the boot order to boot from the installation media first.
Step 3: Installing MikroTik RouterOS
- Insert the MikroTik RouterOS installation media.
- Save the changes and exit the BIOS/UEFI.
- The server should boot from the MikroTik installation media.
- Follow the on-screen prompts to install RouterOS. Choose the installation drive carefully.
Step 4: Initial RouterOS Configuration
- Once installation is complete, the system will prompt you to remove the installation media and press Enter.
- The RouterOS system will reboot.
- After reboot, log in using the default credentials (admin/no password).
Step 5: Basic MikroTik Configuration
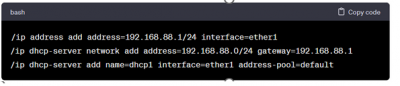
1. Configure the RouterOS with basic settings:
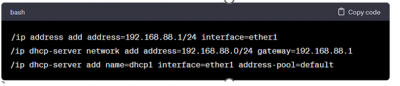
2. Set the administrator password:

Step 6: Network Configuration
1. Configure WAN and LAN interfaces:

2. Assign IP addresses to interfaces:

Step 7: Firewall Configuration
- Configure basic firewall rules:

2. Adjust firewall rules based on your specific requirements.
Step 8: Save and Reboot
- Save the configuration:

2.Reboot the system:

Step 9: Post-Configuration
- After reboot, log in and verify that your configuration is intact.
- Further customize your MikroTik configuration based on your network requirements.
Congratulations! You’ve successfully configured MikroTik on the Dell R630 server. This basic setup can be expanded based on your network’s complexity and specific needs. Adjust firewall rules, configure NAT, set up VPNs, and implement additional features as necessary for your environment.
In conclusion, configuring MikroTik on the Dell R630 server is a journey toward unlocking the full potential of your network infrastructure. Be a part of Ref Group Indonesia, exploring affordable server options, or considering Dell servers and server components, this comprehensive guide provides a roadmap for successful configuration. By following these steps and considering the unique needs of your organization, you’ll be well-equipped to create a robust, cost-effective, and high-performance network environment that meets your specific requirements. Just contact us for further information and help.